Showing posts with label do-it-yourself. Show all posts

Thursday, August 14, 2014

Construction Birthday

Miles turned one a couple weeks ago, but we've had some other things happen that left this post being a little late getting out. 

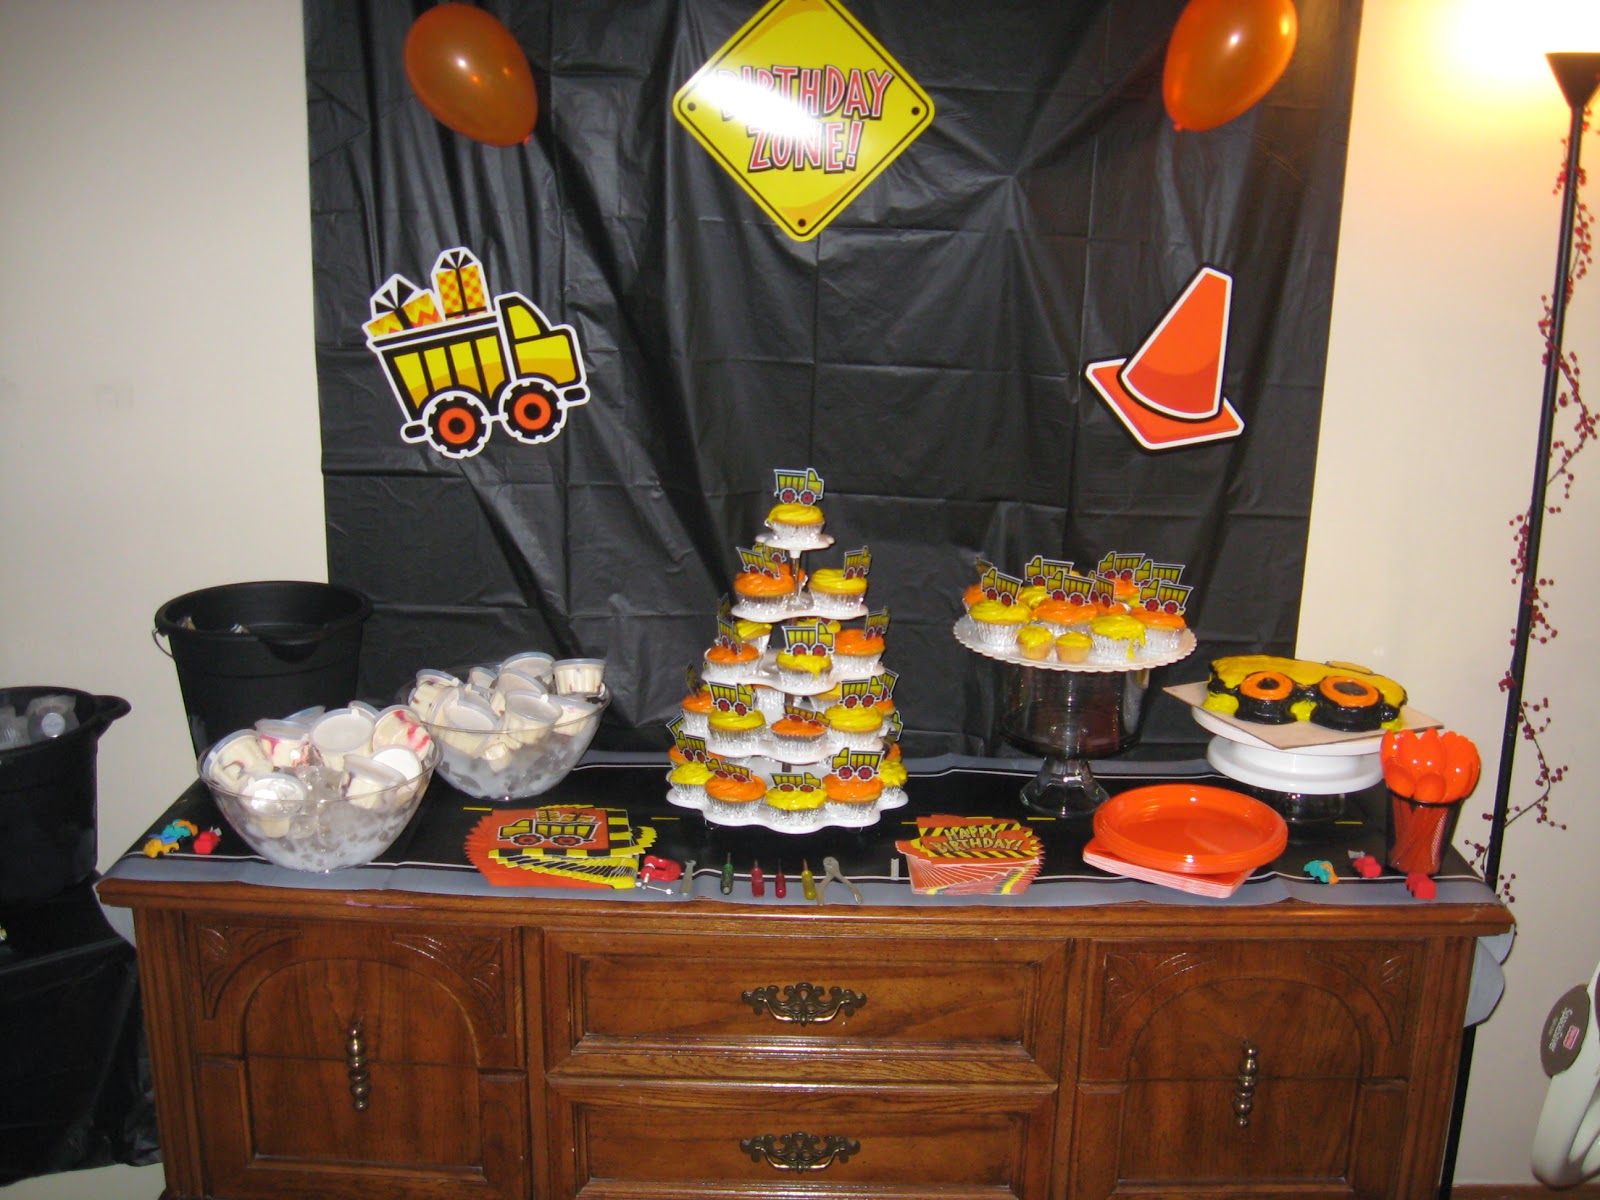
We decided that since Miles is always knocking things over in a destructive way we would have a construction birthday theme for his first birthday.  I found some awesome decorations from Hobby Lobby, and along with the help of Pinterest, we had a theme on our hands.  Tom also helped too.  Most of the time he just lets me plan it out, since it's kind of my thing, but this time since it was more of boy thing, he felt like he had some great ideas to contribute.  I was glad for the help.

I got a lot of ideas from the internet, and chose to do a simplified form of them.  I wanted to do more, but this was his first birthday and I really didn't have the time to go all out this year.  His first birthday kind of snuck up on me without me realizing it.


This was the dresser and decorations that I bought at Hobby Lobby.  I chose to do cupcakes this time and made a small cake for him to dig into.  I found some black buckets at the Dollar Tree and kept the drinks with ice in them.  I used a solid color plastic tablecloth and stapled it to the top of the wall as a background.  Most of the decorations I found at Hobby Lobby and used solid color plates, napkins, and spoons.  It was a lot of fun.
 
 
Tom had a sawhorse in the garage, so we used black posterboard and put a caution sign from the construction pack I got and the added some old tools from Tom's dad.  It was kind of bittersweet that we had Miles' birthday party on what would have been his dad's birthday.  So Tom wanted to incorporate some of his things into the party.  They made a nice addition.

We had another sawhorse on the driveway so that people would know to go in through the front door, along with a balloon bouquet.

My favorite thing to do for birthdays it to make my kids' cakes.  My dad did it for us, and I guess I want to continue the tradition.  I chose to make cupcakes for everyone else and a baby truck cake for Miles to save myself some time.  I cut a regular sheet cake into the shape of a truck and used cupcakes for the tires. 


We decided to strip Miles' down and take off his shirt for the big event.  He has never had cake before, so it was quite the treat for him.

He's got a look as if he's wondering what we are going to do with that thing.

YUMMMMMM!!!


Jaycee had to join in the fun too.  She loves cupcakes.
 

Sticky fingers


This was what was left of the cake after Miles was done with it.
 

Tom threw him in the tub, high chair and all.
 

Opening gifts.  Not sure he was really into this part of the party, I think he was still in a cake coma.
 

Our family
 

Playing with his new toy.


There's a smile.


We went outside for a bit to let the kids run off the sugar from the cupcakes.  Miles decided that sitting in our crunchy grass was good enough.  So we started singing and clapping with him.  Gotta love this guy.


After his birthday, we decided to take a quick trip to see some of Tom's family and friends near Joplin.  We ended up having to cut our trip short b/c Miles has some problems with high fevers.  But I'm so thankful for this little guy and the added blessings he has brought to our family. It has been fun to watch him grow, learn, share, and play with his sister.  I love watching his face when he is trying to figure out how things work and roaming around the room looking for the next tower, building, or blocks that he can knock down.  We call him Destructor around here, but we love him.  It was a lot of fun celebrating his first birthday.


the Ehrlich's

Thursday, September 26, 2013

Update- DIY Laundry Detergent

I was doing several loads of laundry this morning and thought I'd update you on a post I had earlier this summer.

If you don't remember, I talked about making my own laundry detergent.  I started this summer with getting the supplies and then working to put it all together.  I thought that this would help our family save money on this area of our lives. You can see the original post here

 I've been trying to see how long this batch would last for our family to decide if it really is saving us money or not.  Well, I am here to let you know that as of right now, I still have about another months worth of detergent left. 

So, for all you bargain hunters out there, here is a breakdown of the cost.

Regular Laundry Detergent:
I spend roughly $5-7 for a bottle of detergent and I usually need 2 bottles a month.  I buy the Free and Clear type of laundry soap because I have kids with sensitive skin.

DIY Laundry Detergent:
I spent $21 for all the supplies to make my own detergent, and right now I am going on 3 months of using it with one month or more still to go. 

So, after four months I would've normally spent $30-40, and here I've spent $21.  Now, I am having to get used to having a 4th member of our family to do laundry for, and that may change things a little, but surely not too much. 

I just thought I'd let you all know how it has been working for us!!!


the Ehrlich's


Friday, July 12, 2013

DIY Laundry Soap

One of the things that I've been wanting to try is to make my own laundry soap.  This is another idea that I got off of Pinterest.  That fun sight where you pin all these things that you think you'll do but never get to.  Well, my goal this summer has been to do a few of these projects.

While I wish that I could say one of my main reasons for making my own laundry soap is to be more environmentally savvy, that really isn't the reason at all.  When I started to stay home full time, this summer I decided that I wanted to be creative in finding ways to cut our budget and save money on things that I could save money on.  This was one of them.  I'm still very early in the process, and I will see if this has actually saved me money, but I thought it was at least worth a try.  The original post of how to make your own laundry soap is here.  But I thought I'd show you what I did.

DIY Homemade Laundry Soap

Ingredients:
You will need the following items below.  I got all of these at my local Dillons.

1 large box Borax
1 box of Arm & Hammer Super Washing Soda
3 bars of Fels Naptha soap
1 large box or 2 small boxes of Arm & Hammer Baking Soda
1-2 containers of Oxy Clean (I like it b/c my family needs the extra stain fighting power, but it's optional)


The next things you will need to do is to grate the Fels Naptha soap.  You can use a cheese grater, or potato peeler, or even a knife.  Whatever works to get the soap shaved into tiny pieces.  My daughter was fascinated with this part, and kept wanting to help.  She didn't understand why I was grating soap.  I ended up grating all 3 bars into a Tupperware bowl shown below.


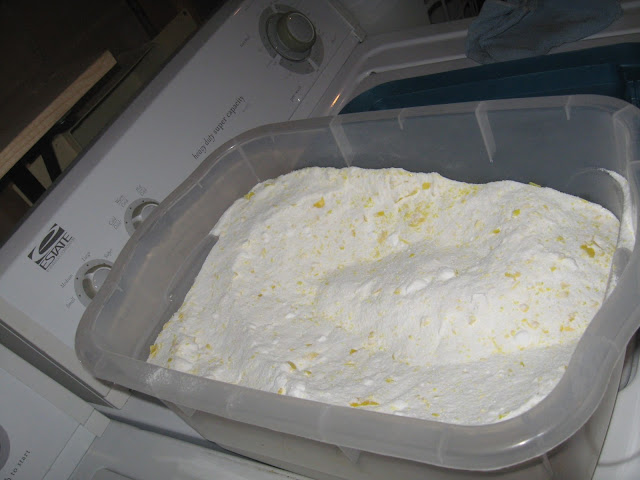
Next, I decided to do things a little different from the original recipe and mixed everything into a Rubbermaid, or plastic container with a lid.  The original recipe says to mix in a 5 gallon bucket, but I just could not find one at our house that didn't have paint in it.  So I used the largest plastic container I could find and a very large spoon to stir everything with.  You can see what I did below.


This part will really start to smell good!!!  Once I had everything pretty well mixed, I used the scoop from the Oxy Clean container as my measuring spoon and started to do my laundry.  You only need to use 1 scoop on smaller loads and 2 scoops on larger loads.  I've been using it now for almost a month and I notice that my clothes don't have a very much smell to them, but they come out clean and soft.
 
 
I also like that this laundry soap is very friendly for people who have sensitive skin.  My daughter had really sensitive skin when she was born and I had to buy the special soaps with no dyes, perfumes, or any of the chemicals added.  I ended up using that for all of us so that I wasn't buying two different kinds of detergent.  This has not bothered her at all.
 
 
So I'm going to see how long this lasts and if it is really saving me money in the long run.  I paid about $20 for all the materials to make this soap, and I will update you as to how long it lasts before I need to make another batch.  For spending about an hour making it I think it has worked pretty well for us.
 
Oh and just a side note.  Because I was making my own laundry detergent, my handy husband decided that I need a place to put my new creation.  So he made me a shelf just above the washing machine to store the rather large container.  How thoughtful!!!  I guess he thought that since I was doing what I could to save money, he would do something nice for me too.


the Ehrlich's 


Wednesday, May 8, 2013

A Few Things ...

Our lives have been a little random these days.  It has consisted of basically living life and preparing for the summer.  This summer has a lot in store for us, and we are trying to prepare for it, while not getting too much ahead of ourselves.  I have a hard time preparing for things for fear that it will all be for nothing, but then I start to remember that God is in control and that hope helps me see that He has a plan for whatever is in store for my future whether it is how I want it to go or not.  So I just need to keep praying and trust in God's plans for me and my family, whatever that may be.

Here are a few random things that we managed to take pictures of in the last couple of weeks.  Enjoy!!!


Tom started to put together a portfolio of projects that he has worked on over the years.  He has several reasons for this, but it was fun to see these things he's made over the 15 years we've been together.  I can't believe that we've been together that long, but 15 years ago this month was when we went on our first date. 

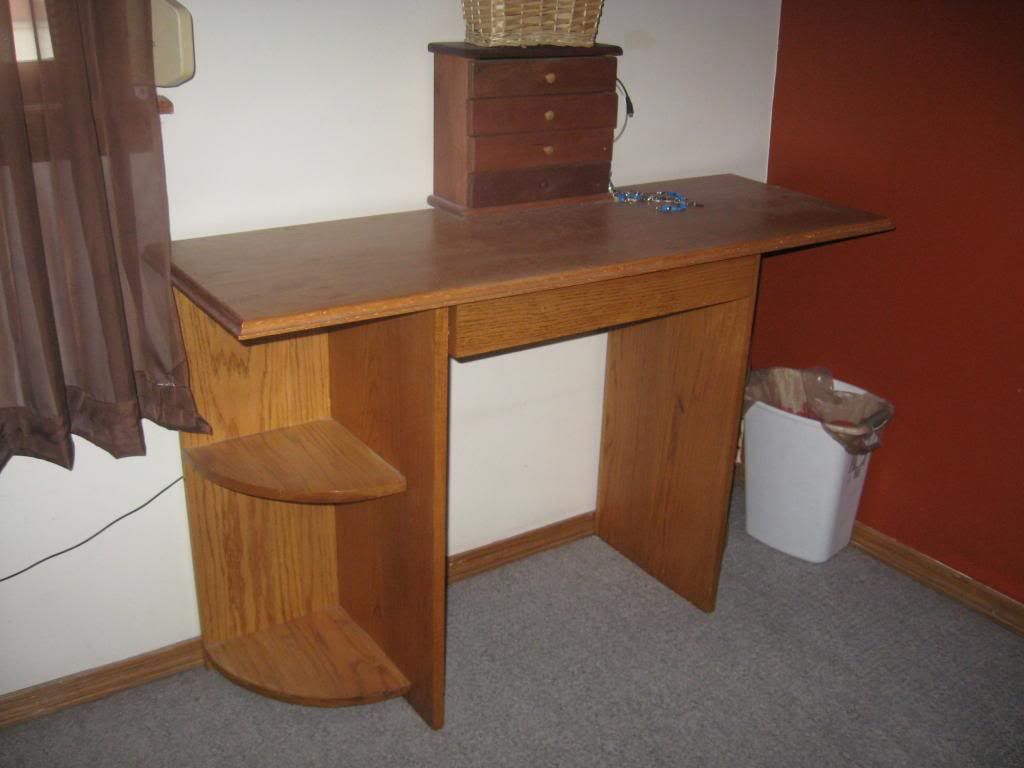
Originally a make up desk he made for me when I was still in college.
He also made the jewelry box on top.


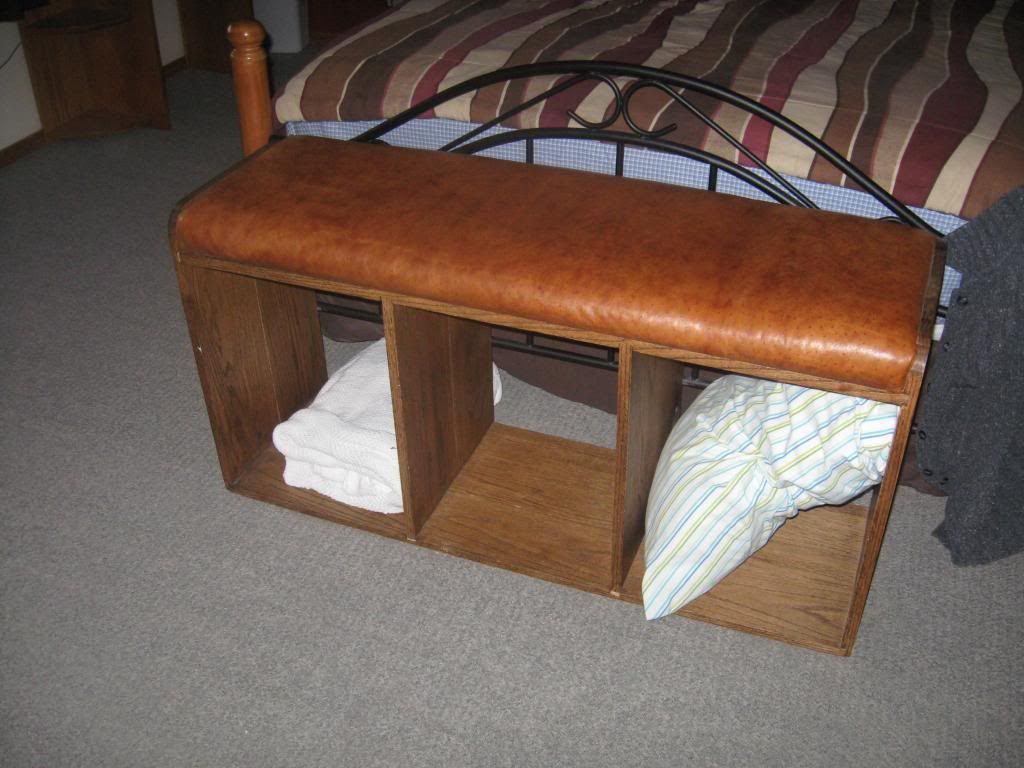
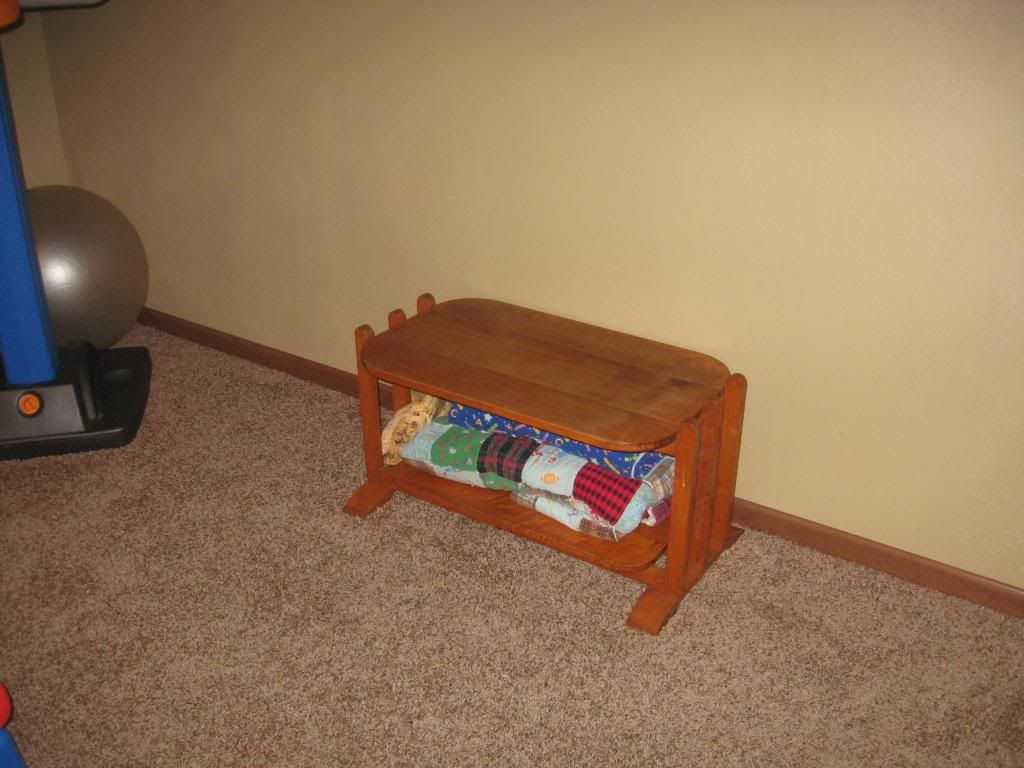
A bench that sits at the foot of our bed.  We store blankets and extra pillows underneath and put our shoes on while we sit on this bench.  My dad let us use some extra leather he had in his shop.


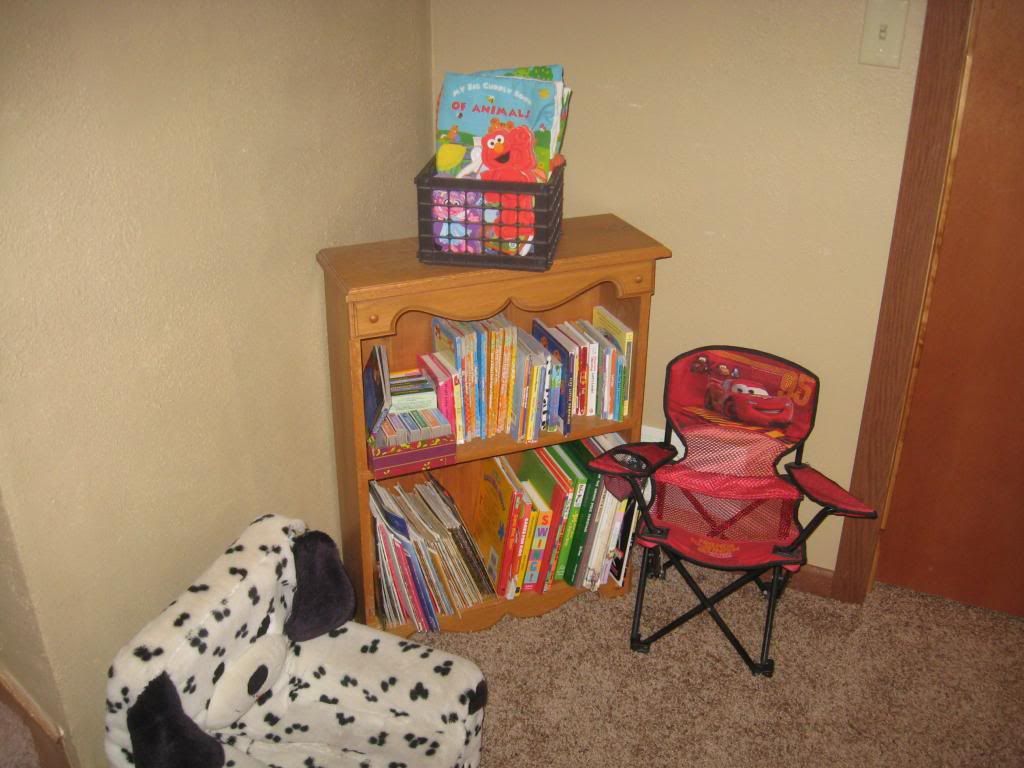
Small bookshelf.  Now it holds all of the books that Jaycee has received over the years.


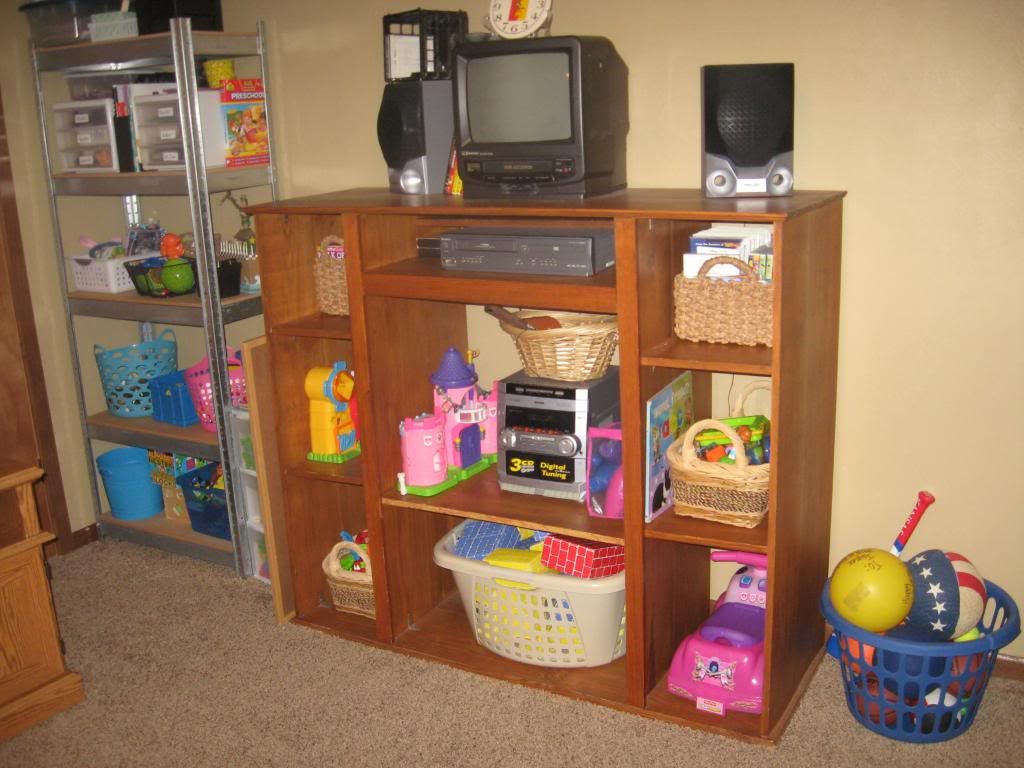
Entertainment Center.  He made this a year after we were married.  It is custom made and fit our TV we had at the time, but now it is storage for DVDs and Jaycee's toys.


Coffee table that Tom made for his dad.  While he was cleaning out his dad's house he found this that he made many years ago.  It has now made it's way back to him.


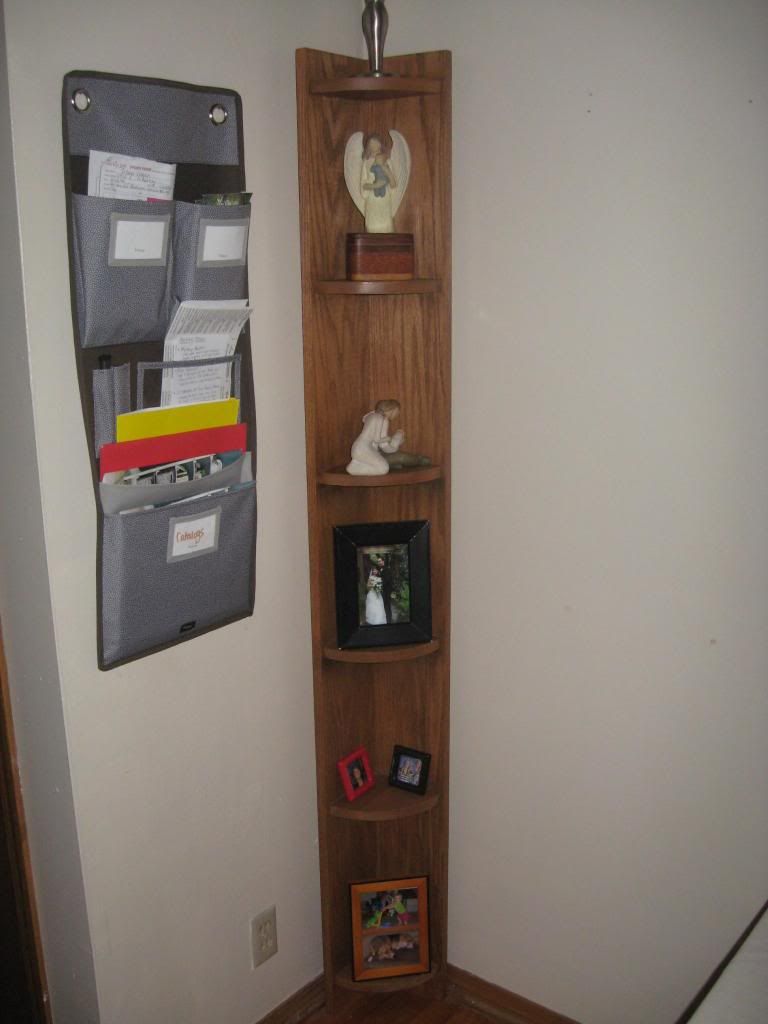
Corner shelf.  We have two of these for pictures and other stuff.  This has been great to have.


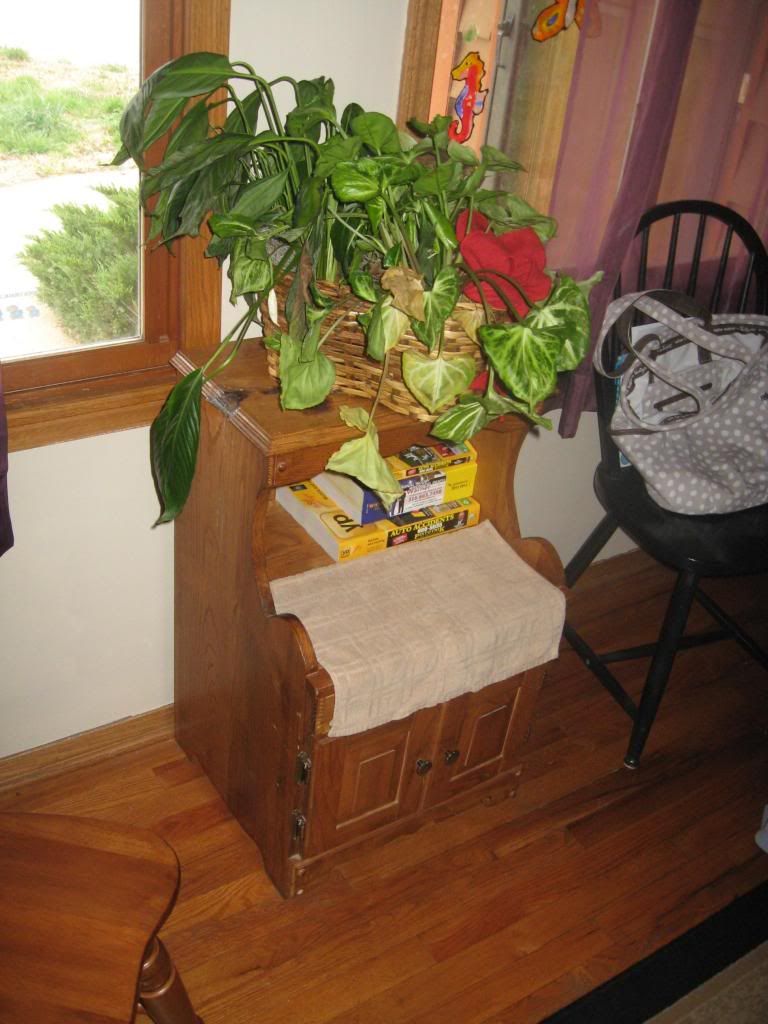
End table.  For a long time we used this to hold a small TV, but now we have some plants on it and phone books that we don't really use anymore, it also has a place for storage underneath.


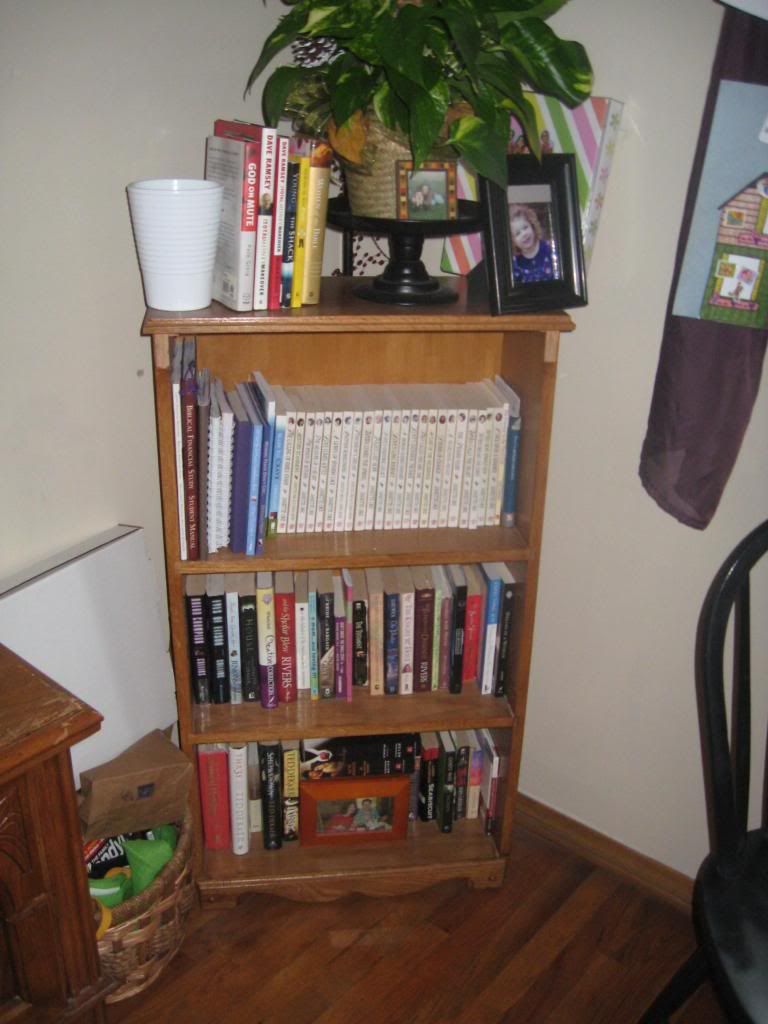
Tall bookshelf.  This has a lot of books that I read. 


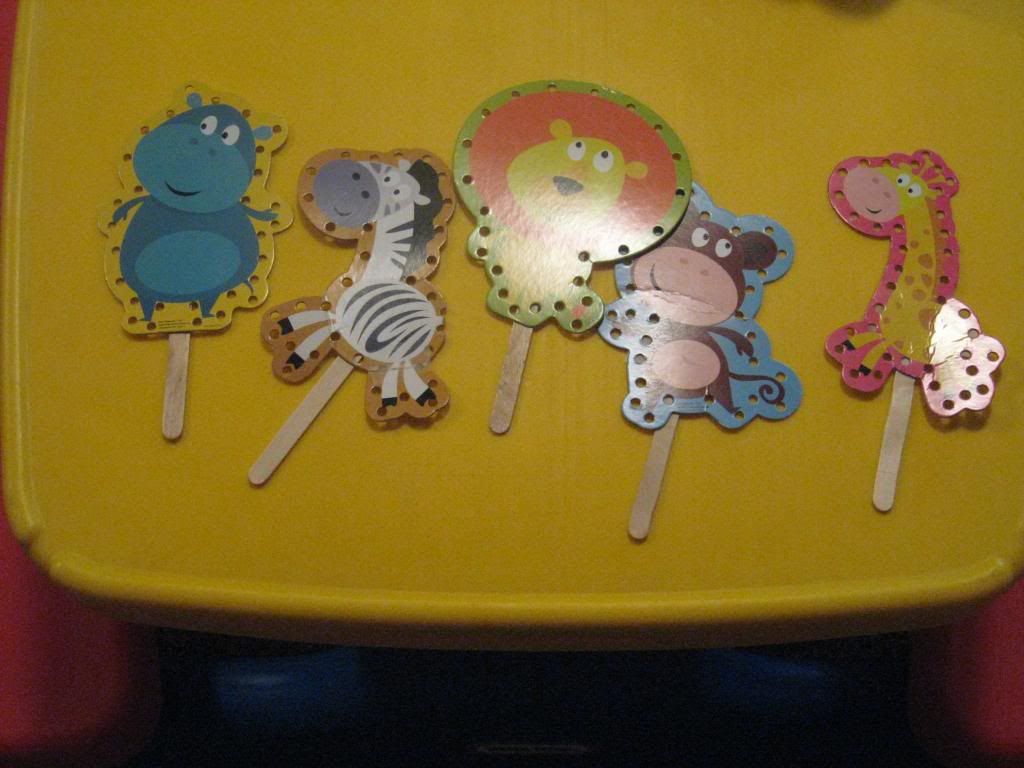
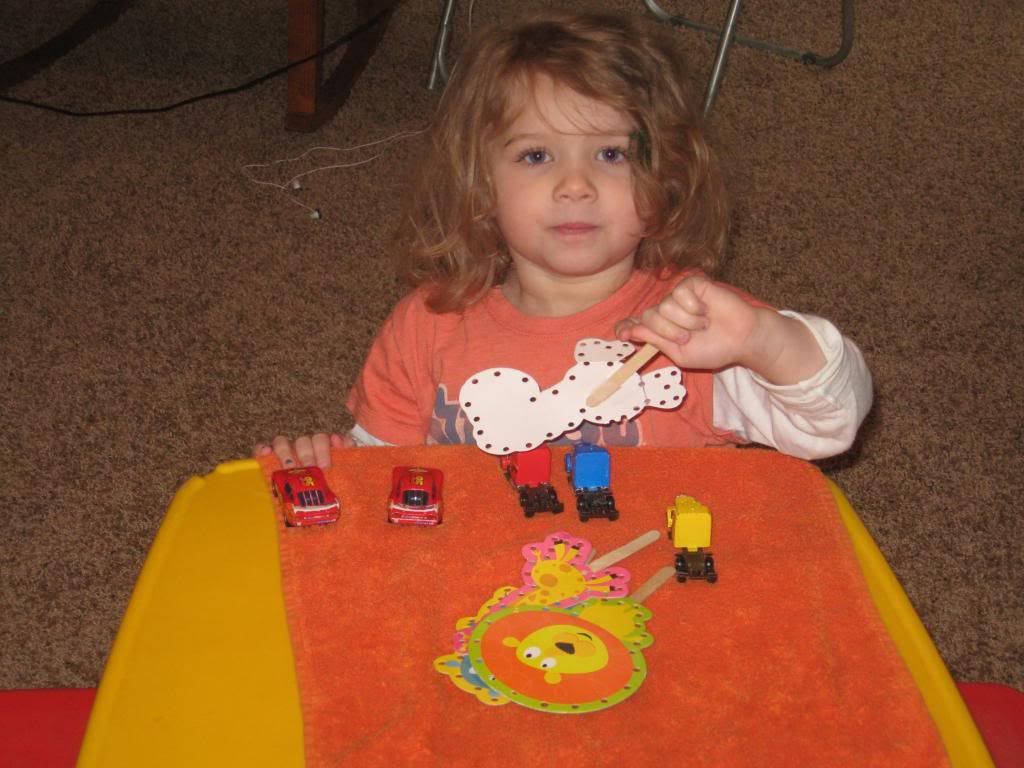
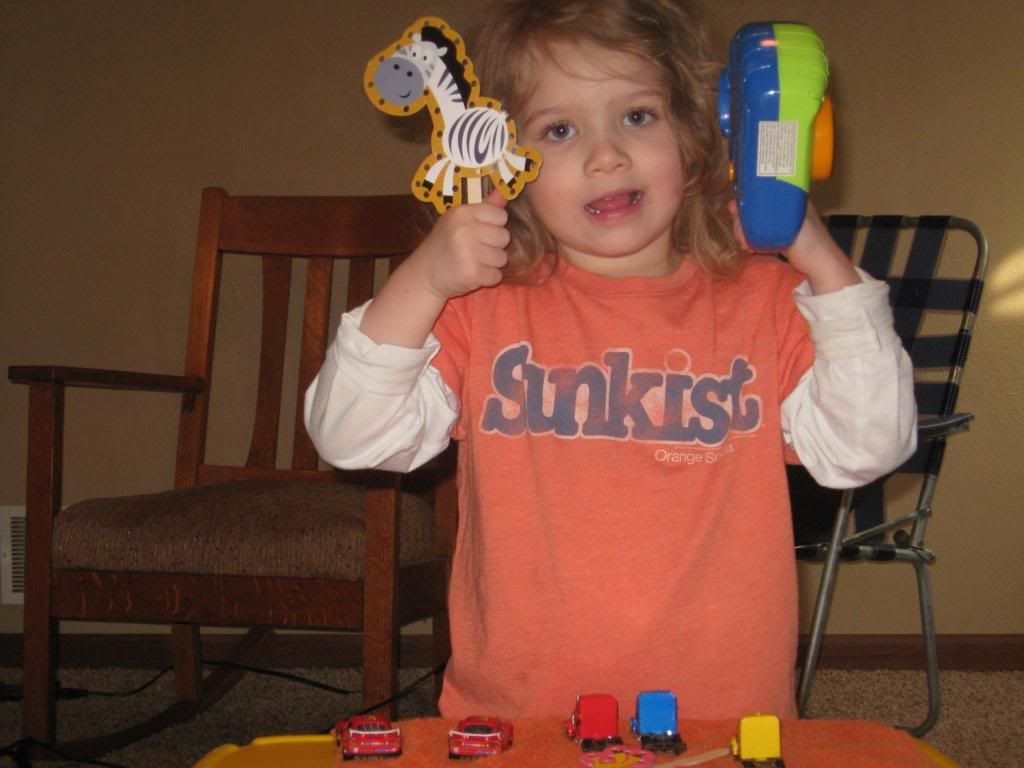
I was playing downstairs in the basement with Jaycee when she wanted to play with some sock puppets we had made a while ago.  She also pulled out some lacing animals that I bought at the dollar store a long time ago.  I originally thought they'd be good for helping with lacing and fine motor activities.  I got the idea to attach a popsicle stick to the back of each one and then use them as puppets too.  It was a very cheap and easy puppet that I could make with stuff I had around the house.  Here are the results of our puppet show from the other day.


Lacing animals that I found at the dollar store and popsicle sticks attached to the back with tape make good puppets.


Of course the cars have to be included in the puppet show.


Posing for the picture. She loves the camera.


the Ehrlich's


Tuesday, September 18, 2012

Basement

The basement has been quite the project for us, or rather Tom, but he is pretty much finished.  The last little thing left to do is to put the rest of the trim/ baseboards on.  He has been working vigoruously at this most of the summer in between softball games, vacations, and spending time with family and friends.  Once school started, it has been hard for him to get as much done and usually after dinner we don't see him anymore until it is time to go to bed.
 
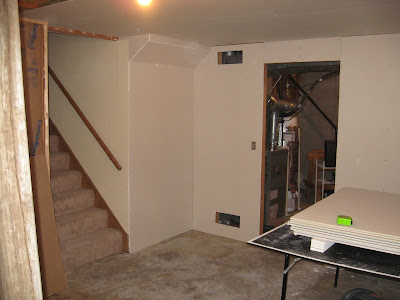
Below are some pictures of the project as it progressed and in another post I will show you the finished project.  I am so proud to have a husband who knows how to do these kinds of home improvement projects.  I learned so much from him through finishing the basement, and it was a lot less expensive since he did virtually all of the work himself. 
 
Basement walls are done.  Now he is putting in the electrical outlets and getting ready to put the doors on.  We have a door that leads to the unfinished laundry room and to a closet.


 Here is the carpet that Tom put in himself.  We had fun getting it home in our jeep, but it's a good thing the store is only a couple of miles away.
 
There are more updates to come later maybe just pictures. 


the Ehrlichs

Monday, July 23, 2012

Basement Update


Since coming back from our road trip to California, Tom has been hard at work on the basement.  The summer seems to be winding down faster and faster these days and he wants to be pretty much finished before school starts. 

I decided that Tom would be able to get things done a little quicker if I were to help him.  I held the peices of sheetrock up long enough so that he could put them onto the ceiling.  This is not my thing and I don't understand much about hanging drywall.  I also didn't realize that each peice of sheetrock weighs quite a lot. This made things pretty difficult and I could only do one sheet at a time and then needed to rest or at least take a couple of hours break before starting the next peice. This took a lot of patience on Tom's part to try to explain what he was wanting me to do and for me to understand it.  We mainly worked on it in the evenings after Jaycee went to bed.  With Tom's softball schedule and the sun not going down until around 9:00, our evenings were kind of short at times.  Here is some progress on this summer project that Tom is doing.  I am really proud of him, because he is so handy and can do these types of things himself, which is saving us a lot of money. 


He has been working really hard on the sheetrock.  We are only finishing one large room in the basement to kind of be a hang out area for Jaycee's toys (which have overtaken the house), and an entertainment area.

Here Tom is framing the one window that is in that room.


 Work on the ceiling and making sure that the lights and vents areas of the sheetrock are in the right place.


 Closet


 Making room for tools and measuring out things and places that need to be cut out of the sheetrock.


 We have a little helper.  She loves this room and wants to help out so much.  I love that about her.  Her favorite thing is the safety goggles. 


 It was really hard to keep her away from "Daddy's Work Place".  She would ask me where is daddy, and I would say he is working.  She would open the door and yell down, "Daddy you done working?"  Love her helpful attitude.


 This project is coming along, but we still have a long ways to go.  I am so excited to get it done and move some things down there.  I am also ready to get my workout space back.  I will continue to keep you posted as to the progress as it happens.


Photobucket